Enne lume mahatulekut korjasin mererannast mändide alt hulga käbisid. Panin käbid panniga ahju 150°C juures "küpsema". Kuivades hakkavad käbid end lahti lööma. Kui palju selleks aega läheb, sõltub kui märjad käbid on.
Before the snow came down, I collected a lot of pine cones from the seashore. I put the cones on a pan into the oven to "bake" at 150°C. As they dry, the cones begin to split open. How much time it takes depends on how wet the cones are.
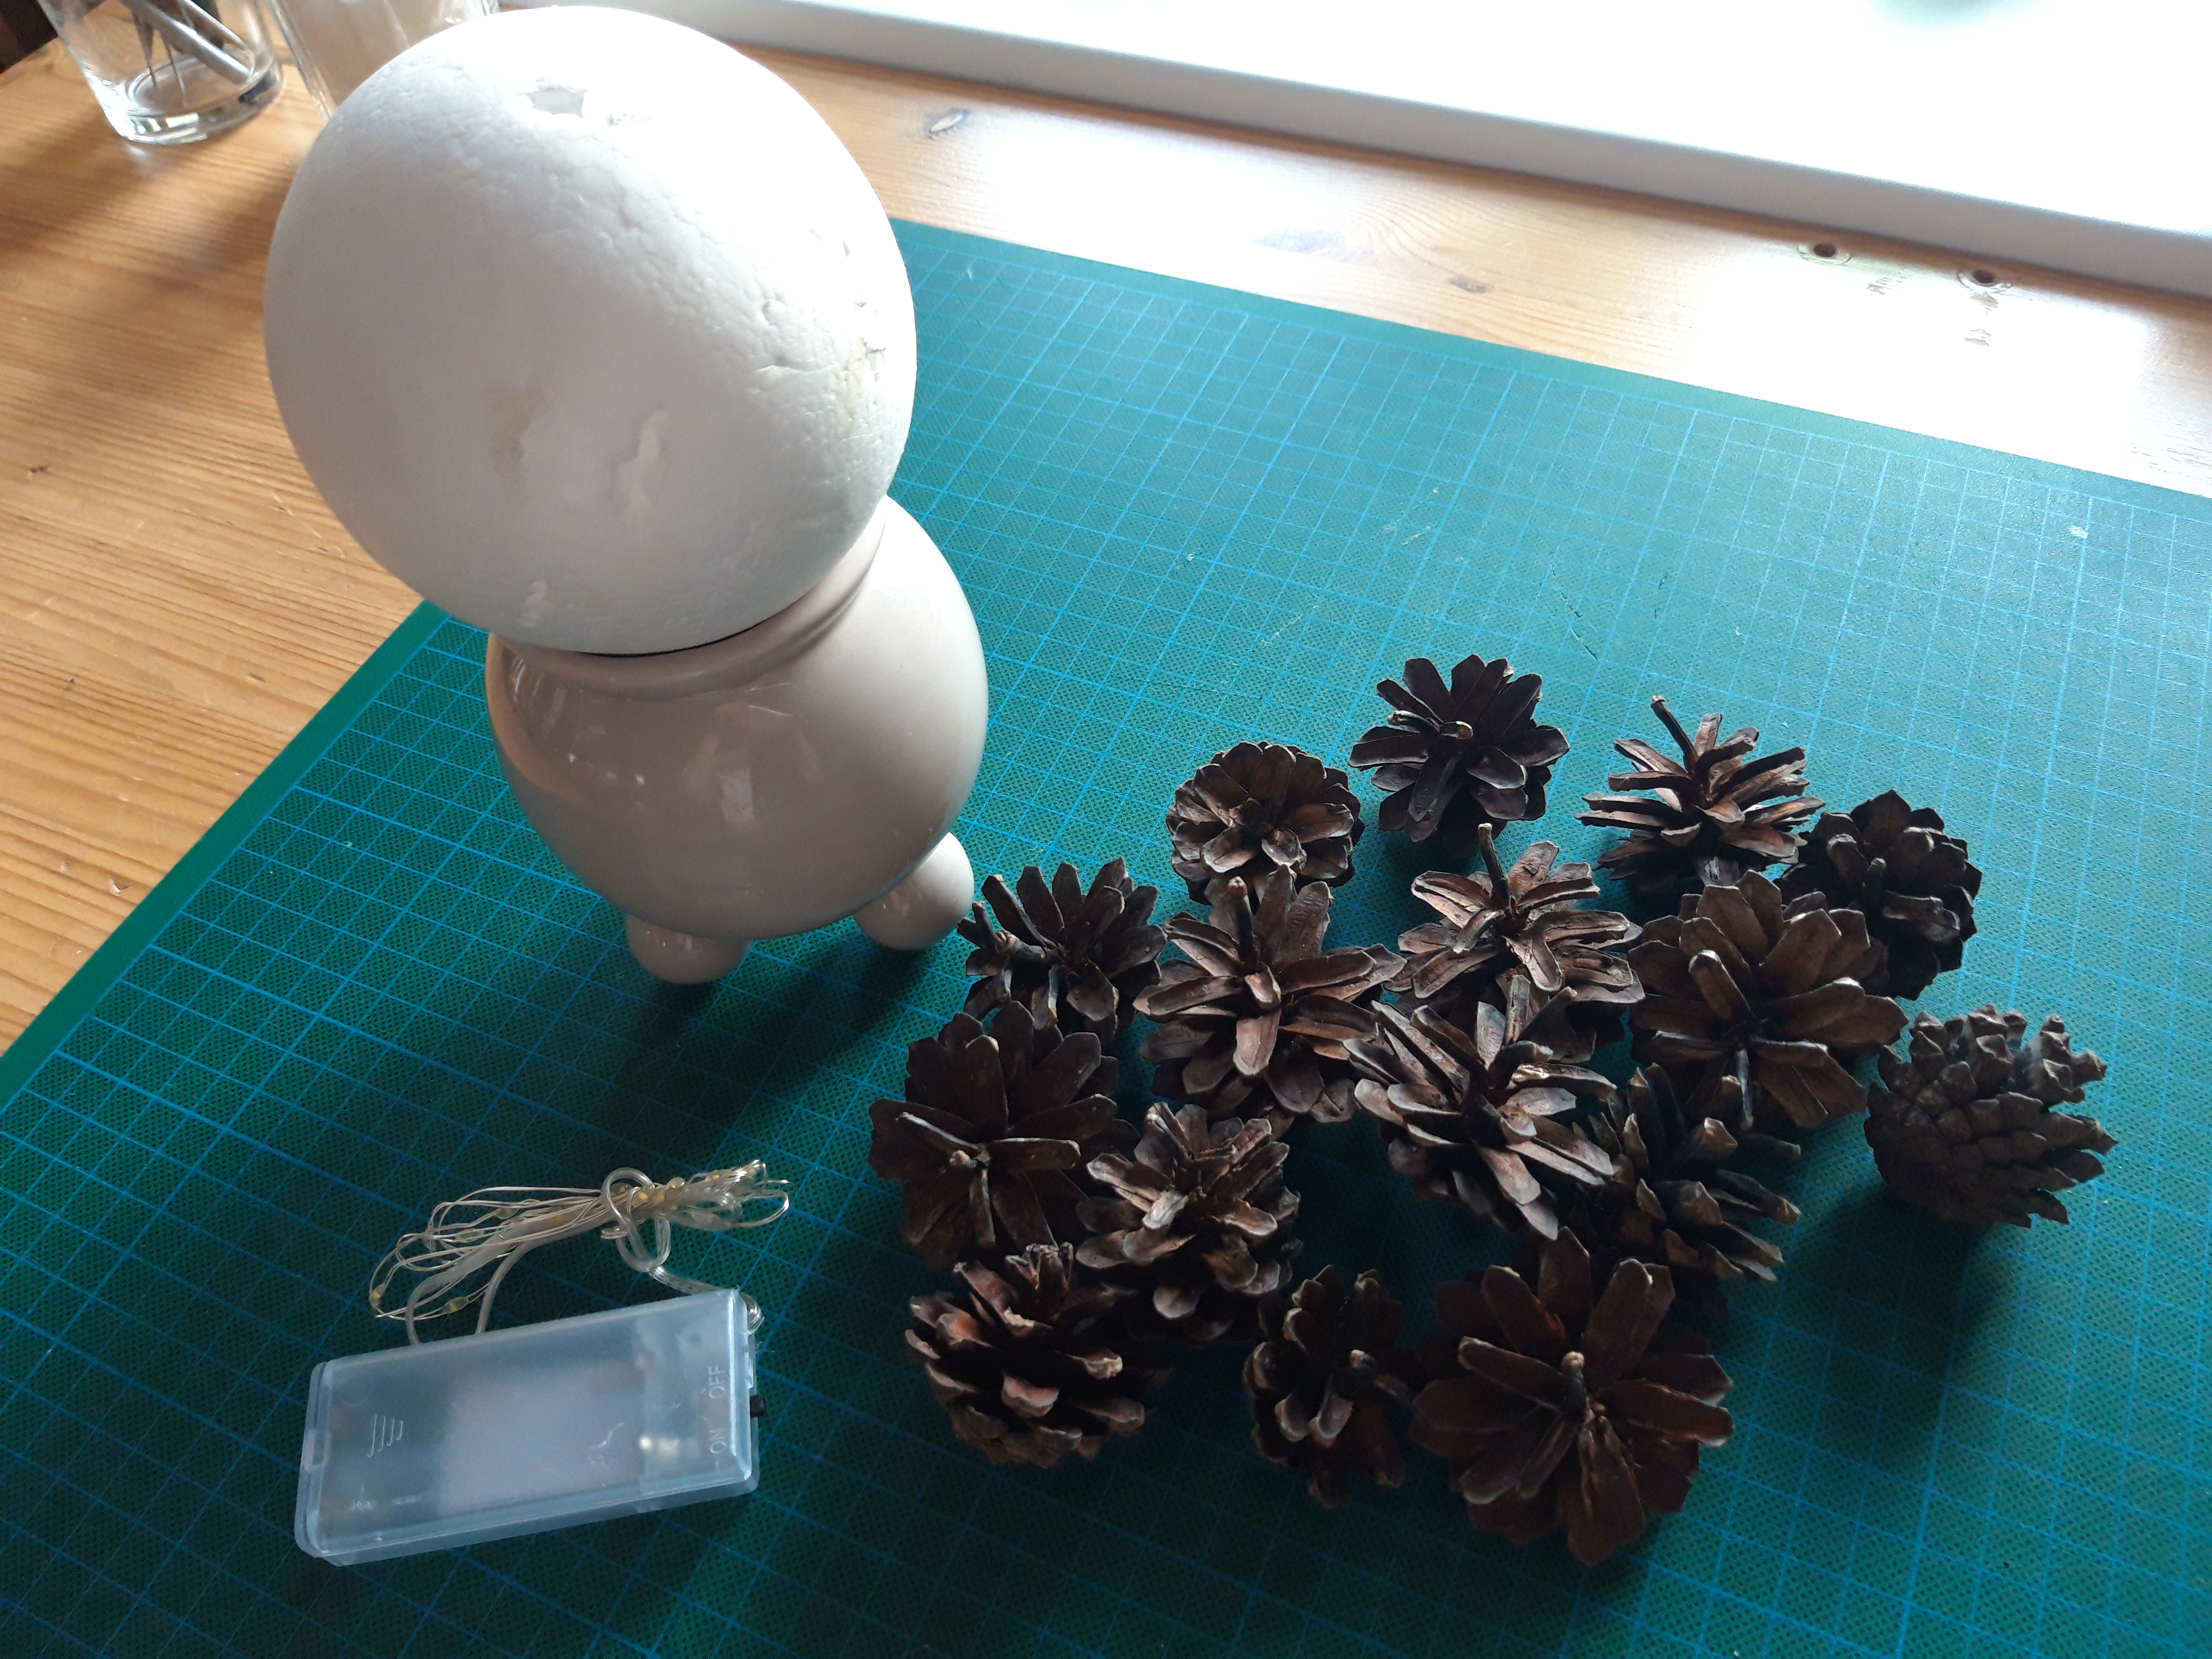
Taaskasutusest leidsin toreda keraamilise vaasi, mille sisse sobis ilusti 8 cm läbimõõduga stüroporist pall. Lisaks käbidele, oli plaan kasutada ka väikeseid LED-tulesid. Kuna vaas väga suur ei olnud, siis mahtus selle sisse üksnes kahe AA-patareiga tuled. Aga sellest piisas täiesti.
I found a nice ceramic vase from thrift store, in which a styrofoam ball with a diameter of 8 cm fit nicely. In addition to the cones, the plan was to use small LED lights as well. Since the vase was not very big, only lights with two AA-batteries could fit inside it. But that was absolutely enough.

Pall oli natuke kannatada saanud, aga sellest polnud midagi - ümber katkise koha tegin noaga sõõrja lõike, millesse kleepisin 4 x 12 cm papi tüki. Seda selleks, et pallil oleks "jalg", millega ta kindlamalt vaasis püsiks (vaata järgmist pilti) ning mille sisse saaks tulede patareide karbi panna.
The ball was a little damaged, but it didn't matter - around the broken place I made a sharp cut with a knife, into which I stuck a 4 x 12 cm piece of cardboard. So the ball has a "leg" with which it stays more firmly in the vase (look at the next photo), and in which the battery box for the lights can be placed.

Nüüd kerisin LED-tulede traadi ümber palli...
Now I wound the LED lights wire around the ball...

...ja hakkasin käbisid kleepima (kuumaliimipüstoliga). Alustasin keskelt, siis üks pool ja siis teine pool.
...and I started gluing the cones (with a hot glue gun). I started in the middle, then one side, then the other side.

Et oleks lihtsam liimida ja et käbi paremini püsima jääks, tegin kääride otstega väikesed augud ette.
To make it easier to glue and to make the cone stay better, I made small holes in advance with the tips of scissors.

Käbide suuremad vahed täitsin väiksemate käbidega ning ...
I filled the larger gaps between the cones with smaller cones and ...

... parasjagu käepärast olnud väikeste kuldsete kunstlille õitega.
... with small golden artificial flowers that were on hand at the moment.

Ja siin ta on - tuled põlemas :)
And here it is - the lights are on :)